Friday, July 29, 2016

Technique of the Week: Convert your Wood Mount Stamps to Cling

Marj Marion is here again with this great post on how to convert your wood stamps to cling. Enjoy!


With the popularity of the MISTI, many crafters and artists are interested in changing their wood mounted stamps to cling stamps. The staff at Art 'n Soul can demo the MISTI for you most any time!

I’m sure there are multiple ways to accomplish this conversion, but I will share how I do it!

1. If the rubber image doesn’t want to peel off the foam part of a wooden stamp, I put it in the microwave wood side down for anywhere from 15 to 30 seconds (As you know, microwaves vary in their intensity.) The heat loosens the adhesive and makes it easier to peel off just the rubber image. I use the EZ Mount cling foam sheets (order from ANS). Remove the liner sheet from the sticky side of the cling foam sheet, but leave the liner sheet in place on the cling side of the foam sheet for now. You can do one image at a time, or fill the cling sheet with as many rubber images as you can fit.

2. In the past, I have used scissors or craft knife to cut out the images, but it’s a sticky process that can be frustrating. I recently learned about the Walnut Hollow Professional Hot Knife (order from ANS). It comes from the wood burning craft or hobby.

3. I prepared a glass work surface by purchasing two frames at the thrift store, removing just the glass, and taping them together with strong tape along the edges. It is easier to cut out your images by using the hot knife against this glass work surface, and you don’t ruin any other surface in your home.

4. Insert the special blade into the hot knife, and plug it in. The blade will be hot, so use caution and utilize the little metal resting rack provided. Hold the knife safely on the round plastic grip, and slowly pull the knife blade around the image. The heated blade slides through the cling foam and bottom liner with great ease! More intricate stamp designs just take a little more care to cut the curves, but still WAY easier than scissors or regular craft knives.

5. Try to hold the knife blade straight up and down, so you don’t cut the edge of the foam slanted in either direction. Press firmly so the blade goes through the remaining liner sheet.

6. If you are converting a lot of images, and the blade gets a little gunky, turn off the heat, and when cool, clean with Goo Gone and/or a little steel wool.

Voila!  You now have your rubber stamp image handy to use as a cling stamp with your MISTI. If you wish, you can also order a package of two replacement Hot Knife Blades from ANS.

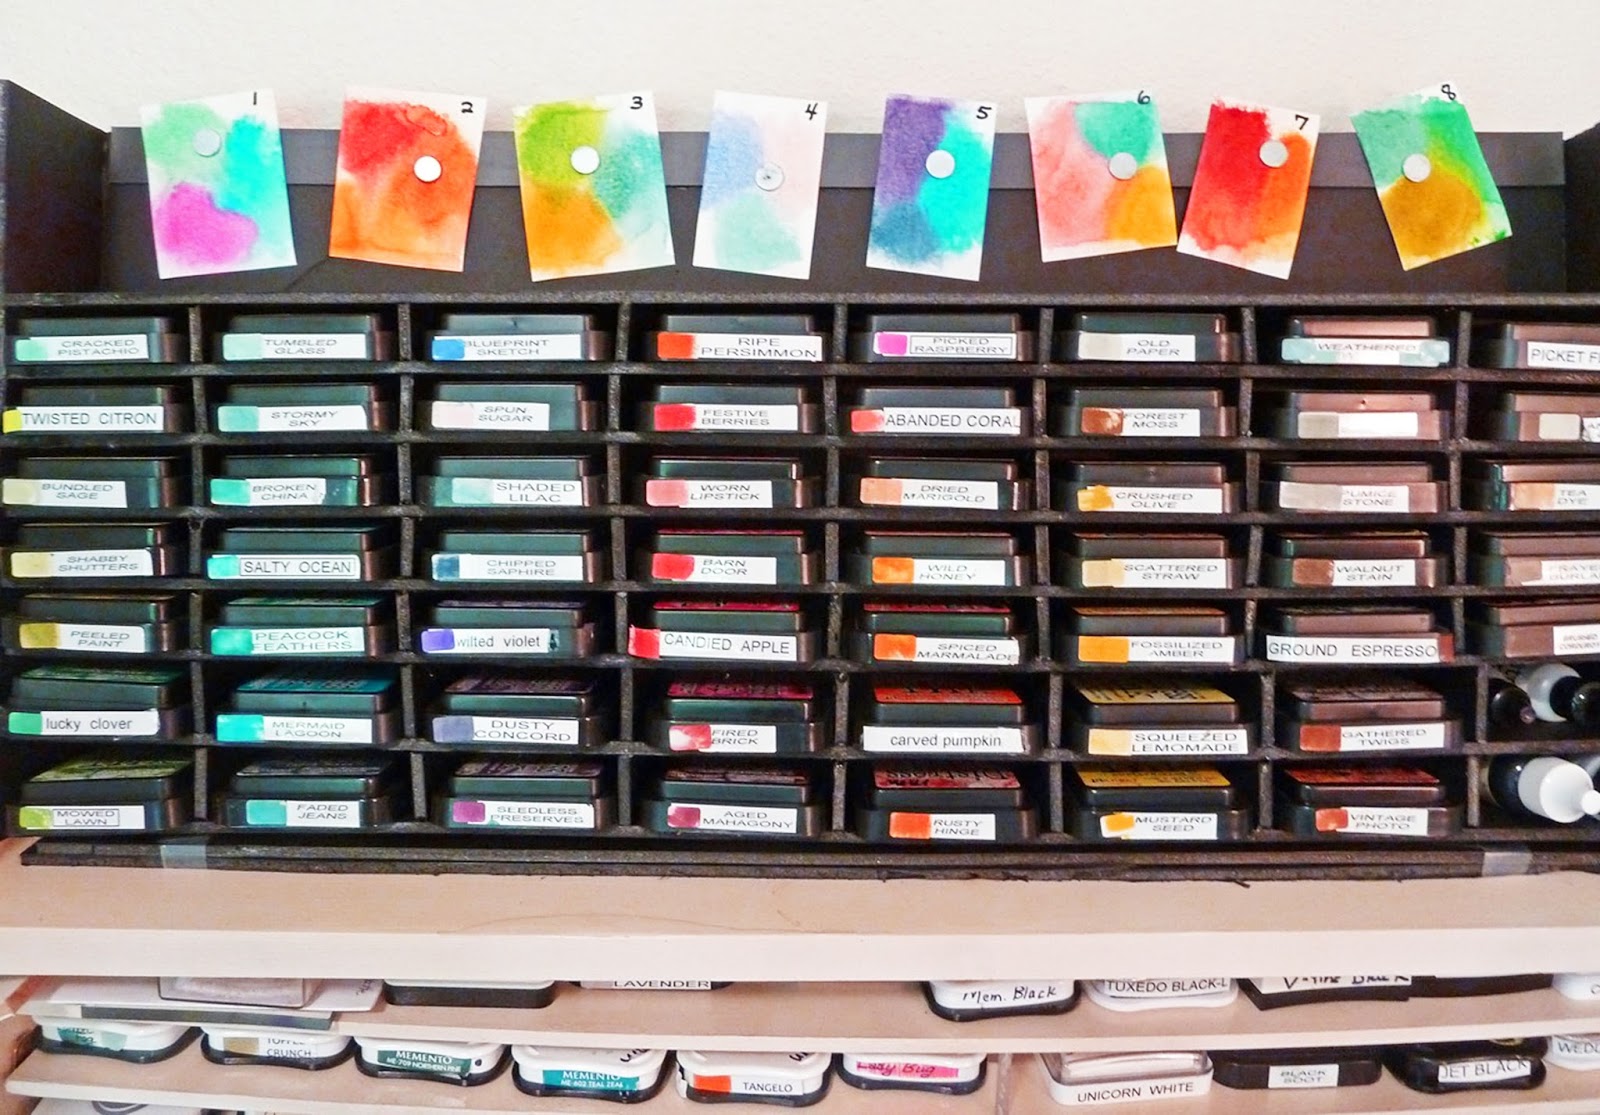
Converting your wood stamps to cling is especially useful for getting a great impression with Distress Inks, even on water color paper, as you can re-stamp repeatedly while using the MISTI.  It’s also used for easier coloring of layered stamp sets and marker coloring on stamps.

Marj will be at the demo table during the Recycled Rubber sale on August 6th, if you want to see this conversion process in person.


HASTY LACE CLASSES ARE HERE!

We are thrilled once again that Sandy Jackson is back with new Hasty Lace/Hasty Trace classes.

Hasty Lace/Hasty Trace Cathedral Bookmark by Sandy Jackson

We adore Hasty Lace and Hasty Trace, and are so thrilled to have new classes and new templates from Sandy Jackson at Some Assembly Required. Sandy makes many of these new things just with us in mind, because we are always begging her for new things. 

Hasty Lace/Hasty Trace  Cube by Sandy Jackson

One of the new things we are looking forward to learning from Sandy is how to color the backs of our Hasty Lace projects to make them look even more amazing! Sandy will share here research into the best colored pencils to use and the best techniques. It is not to late to get a seat in these classes!

Besides the Hasty Lace/Hasty Trace classes this year, Sandy has made the most amazing kits for us. There are 4 different kits, and it is so hard for us to photograph these kits in such a way to show you how fabulous they are. We have tried, but we hope you will come in and see them for yourselves. We will have them in the store on Saturday along with a Hasty Lace/Hasty Trace trunk show.

Hasty Lace/Hasty Trace Cathedral Kit

Besides templates, Sandy has dies to match so that you can make these shapes yourselves! These dies are not in the kits, but are available separately.

One of the new templates (less than 2" square)

Sandy is bringing kits, dies and a whole trunk show of her templates with her on class day, tomorrow, July 30th. Even if you don't come to the classes, you can come to the trunk show and stock up on Sandy's fabulous templates and kits. If you don't know what Hasty Lace is about, but would like to know, we would love to show you.

Friday, July 22, 2016

Everything is Better with Glitter!


This week’s technique features one of my favorite products – Elizabeth Craft’s Silk Microfine Glitter.  It’s also a very quick card to put together.  It’s a good way to use leftover pieces of watercolor panels that you’ve colored with Nuance, too.  This card was inspired by a technique I saw on a blog post by Jennifer McGuire.  If you have never watched any of her videos I really encourage you to check them out at her web page:  JenniferMcGuireInk.com.

To start with I selected a piece of watercolor paper that I had colored with Aquamarine, Purple and Cerulean Blue.  This technique works best if the Nuance colors are dark so they will show up through the glitter.  I cut the panel to 4 ¼” x 5 ½”. 

I needed a die that would cover the card and provide areas to let the glitter shine.  I selected the Memory Box Reverse Butterfly Collage (#99145) but there are many dies that would work great with this technique.  To die cut the butterflies I used a piece of Constellation Jade Wave Embossed Metallic paper cut to 4 ¼” x 5 ½” because I thought the subtle waves in the paper enhanced the feel of floating butterflies.

Next I cut a piece of Scor-Tape paper to 4 ¼” x 5 ½”. 

I removed the backing sheet of the Scor-Tape and placed it on top of the Nuance paper. 


Using the backing paper I rubbed the front and back of the Nuanced piece to ensure the Scor-Tape was firmly adhered. 

I peeled off the top sheet of the Scor-Tape then lined up the die cut of the butterflies and pressed it in place using the backing sheet from the Scor-Tape.

I set the panel on a piece of wax paper and covered it with Cool Diamond Elizabeth Craft Silk Microfine Glitter. 
I rubbed the glitter into the open areas of the die cut to push the glitter into the tape and then tapped off the excess. 
I used the backing sheet from the Scor-Tape to burnish the glitter well – the more you push the glitter down into the tape, the greater the shine from the glitter.   
You can buff off the excess with a Swiffer cloth and then pour the excess glitter back into the jar.To finish, I decided to trim the panel down to 4” x 5 ¼”. 


I had some scraps of Black Style So Silk paper so I stamped Magenta’s “Dream” stamp (#07.933.D) with VersaMark and then embossed with Judikins Opaque White embossing powder. 


I cut a piece of Fashion Purple So Silk Paper to 4 ¼” x 5 ½” and adhered it to an A2 card front.  I adhered the card panel to the upper left corner of the card front.  I trimmed the sentiment as shown in the picture and adhered it to the card with a piece of foam tape to provide dimension. 


I added a few sequins and the card was done.  The microfine glitter really adds beautiful sparkle and highlights the Nuance colors. 

This technique works great with snowflake dies too, for all of you who are getting a head start on your Christmas cards!

Thursday, July 7, 2016

Technique of the Week: DIY Storage Rack for Distress Inks


This fabulous DIY Technique for creating a storage rack for Distress inks is by Marj Marion!


Distress Storage Rack by Marj Marion


Part of the art of stamping is continually finding better ways to store our (ahem!) growing number of supplies, right? I have a rack with shelves that holds my Memento and Archival Ink pads. For some time, I have stored my Distress Ink Pads stacked up on top of this rack. However, I was always piling them up, trying to reach the ones I wanted, and decided it was time for a better storage solution!

I researched commercial racks online, but decided to try my hand at making one that would exactly fit my space and needs. The basic structure was made with black foam board pieces, glued together with a hot glue gun. Here is a list of the tools I used to build this storage rack. 


*black foam board
*hot glue gun and glue sticks
*long, sturdy metal ruler
*pencil
*Walnut Hollow Professional Hot Knife - you can order this from Art ’n Soul!

I didn’t think to take step by step photos of my project (hindsight is SO good, right?), but the photograph shows the finished project.

I measured my space available, measured my Distress Ink Pads, and proceeded!  I made each shelf 2-3/4” deep so the ink pads would stick out just slightly for easy reaching or “grabbing”.

I didn’t want the rack to be too tall, as I wanted to be able to reach all the pads from a seated position at my desk. I made slots for 56 Distress Ink pads, and store a few of my less frequently used colors in another space.

The hot knife was invaluable in cutting through the foam board very easily. I cut on top of a strong piece of glass for the most ease in cutting. I made the shelves 26-3/4” by 2-3/4”.

The small spacers measured 7/8” by 2-3/4”. The sides were 12” by 3-1/2”, and the back panel measured 26”-3/4”. This allowed for the open area at the top of the rack, which can hold a few of my favorite Distress Refills, and also a display of my favorite Distress Ink color combinations.

The Process:
1. I started by cutting all the shelf pieces.
2. Starting with the bottom shelf, I glued on the spacers, using the hot glue gun.
3. Then, I applied hot glue to the tops of all the spacers, and quickly pressed on the next horizontal shelf piece. I had to work quickly to keep first glue from setting up as I worked my way down the spacers.
4. Now it was time to glue on spacers to the second shelf piece, again with hot glue.
5. I continued in this way with all 8 shelves.  I used the ink pads to determine spacing.
6. Sometimes, I had excess hot glue dripping down, creating “blobs” of glue.  To remove them,
I used the hot knife again, trimming (melting) any excess hot glue away.
7. After completing my eight shelves, I glued on the side pieces and then the back piece.
8.  I’ll admit there are slight imperfections with measurements and gluing, but most of these are
hidden, and don’t interfere with the functionality of the rack.
9.  After putting my rack in place, I put two extra narrow foam board pieces under the front edge to help the rack tip back slightly, and further secure the pads in their slots.

10.  I’m really pleased with my rack, the easy access to so many pads that I use so often.

Friday, July 1, 2016

Technique of the Week: Distress Crayon Stenciling

Recently I've been playing with my Distress Crayons and I like the idea of using them with stencils. This technique is actually from Sally Penley, who is a recent, and very popular teacher at Art 'n Soul. When Sally was at ANS to teach a Pastel Dusting class, I asked her if she would mind trying out a similar technique that she was doing with her pastels, and try it with the Distress crayons. What she did was amazing, and honestly, I'm not sure if I did it justice,, but I do like what I ended up with.


Here is what Sally made. She just dashed this off during the class, that's how good she is. When we schedule more classes with Sally, be sure to sign up!


by Sally Penney

I used the Magenta tulip stencil TM150, the Magenta stamp 07.907.L Multilingual Happy Birthday, Magenta MNU-015 Red Nuance. I also used the Distress crayons Peeled Paint and Festive Berries. To cut my panel, I used Lawn Fawn die LF788 Small Stitched Rectangles and cut it out of Tim Holtz watercolor paper. Watercolor paper is not required for this technique, but I like the texture of it. To cut the strip for the sentiment, I used MFT Die 463 Blueprints 13. 


I taped my panel down to my work surface, and taped the Magenta stencil in place over it, using painter's tape. I used the Distress crayons to color onto the stencil and panel both, and I used my finger to pull the color into the open areas of the panel. Sally's favorite tool for this would be a Viva paper towel, but since I didn't have one, I resorted to using my fingers. If you try this, only work a small area at a time, and try not to get very big blobs of the crayon on your stencil or card.


After pulling Festive Berries color into all the petal areas of the tulip, I used the Peeled Paint to color the leaves and stems. I then colored the petals and leaves with clear Wink of Stella glitter pen, and I decided I wanted speckles over the top. I mixed some Red Nuance with pearly water, and flicked it over the card.


To finish, I cut a small piece of black cardstock using one of the small dies from Blueprints 13 from MFT. The die was actually a little longer than I wanted, so I measured the sentiment, and pulled one end of the strip past the edge of the die and cut it again, ending up with a deckled edge on each end of my shortened strip. 

This photo shows my stamp on top of the black paper to measure how long I wanted it to be. After removing the stamp, I cut the paper for a second time to shorten it.

I then chose the top line of the Magenta Multilingual Happy Birthday stamp, and stamped it onto my black strip with Versamark ink, using my mini MISTI tool. I embossed it with JudiKins White Diamond embossing powder, and added an exclamation mark with a white gel pen. The sentiment was popped up with foam tape, and the panel was matted with Stardream Jupiter cardstock. I scattered a few sequins on the finished card.

I found this technique easy and fun to do. I hope you will give it a try! For a more complete list of materials, please visit my Backporch blog post here.